|
使用 NodeJS 框架 NW.js编写桌面应用入门 ---nodeWebkitWeb前端的现状 目前的Web前端的现状较之5-6年前,简直不能同日而语:从所使用的技术、工具、框架到开发一个产品所需要付出的工作量,从前端开发从业人员的数量到Web应用的数量,从企业对于Web前端的重要程度的认识到Web实际上为企业带来的回报,一切都有了翻天覆地的变化。 借助HTML5+CSS3的普及,加上一些开箱即用的CSS框架(如bootstrap,foundation等)支持,人们已经可以非常容易的从零开始搭建一个Web应用的前端。一个在UI方面非常业余的程序员也可以很快的做出一个像模像样的用户界面。而另一方面,基于操作系统原生API,要想设计并实现一个桌面应用,需要的付出则远远超过超过同水平的Web界面。 webkit浏览器内核Webkit作为最受欢迎的浏览器内核,自然有非常多的port。比如GTK+对它的port – WebkitGTK,以及构建在WebkitGTK之上的Python的bind。使用WebkitGTK的Python版本,开发人员可以用HTML+CSS来开发应用,然后写一点Python脚本,最后将其运行在桌面上。 这里有个早期的例子来教你如何写一个所见即所得的编辑器。桌面应用开发中,对于用户界面的复杂性一直是一个难题,而这种方式可以减轻很多的用户界面开发的复杂性,将界面开发交给另外更加灵活,更加容易编写和调试方式:HTML+CSS。 这种模式下基本的开发流程是编写一个HTML页面(作为程序入口),然后在这个页面上引入额外的CSS(界面风格)和JavaScript(动作),然后将这些资源交给工业级浏览器内核Webkit来渲染 – 这个过程和在浏览器中访问该文件并无二致,但是有两个额外的好处: - 页面运行在一个“桌面应用程序”中
- 没有地址栏,状态栏,菜单栏等,看起来更像是一个桌面应用
- 用户界面开发的复杂性被“外包”给一个更简单的环境
这就是传说中的混合(hybrid)开发模式,比如现在移动开发中的cordova就是采用这种模式,使得本来被视为天堑的原生的用户界面开发变为坦途。 node-webkitnode-webkit是一个基于chromium和node.js的应用程序开发工具。它不但支持你使用传统的HTML5+CSS3+JS方式来开发你的应用程序,还支持无缝的与Node.js集成,也就是说,所有的Node支持的与操作系统交互的功能,如网络连接,文件系统,操作系统资源访问等,以及Node之上的第三方库都可以在node-webkit中进行使用。 更好的是,node-webkit是一个跨平台的工具,你可以使用它构建出运行在Mac OS,Linux以及Windows下的应用程序。应用程序通过Node.js来进行与系统相关的访问,而用HTML5+CSS3进行用户界面部分的设计。 node-webkit未必是未来桌面应用的唯一方式,但是却是一个非常好的选择,特别对于已经熟知Web前端开发技术栈的众多开发者来说,无需学习一门新的语言,一切都被很大程度的简化了。 第一个node-webkit应用程序开发node-webkit应用程序非常简单。在这里下载系统对应的版本。并确保对应的二进制文件(nwnw.exe)在系统的PATH之中。 创建一个新的目录,然后在该目录中创建一个package.json文件和一个index.html文件: [color=rgb(88, 110, 117) !important]1[color=rgb(88, 110, 117) !important]2[color=rgb(88, 110, 117) !important]3 | $ mkdir -p hello-node-webkit$ cd hello-node-webkit$ touch package.json index.html |
package.json文件的内容如下: [color=rgb(88, 110, 117) !important]1[color=rgb(88, 110, 117) !important]2[color=rgb(88, 110, 117) !important]3[color=rgb(88, 110, 117) !important]4[color=rgb(88, 110, 117) !important]5 | { "name": "hello-node-webkit", "version": "0.1.0", "main": "index.html"} |
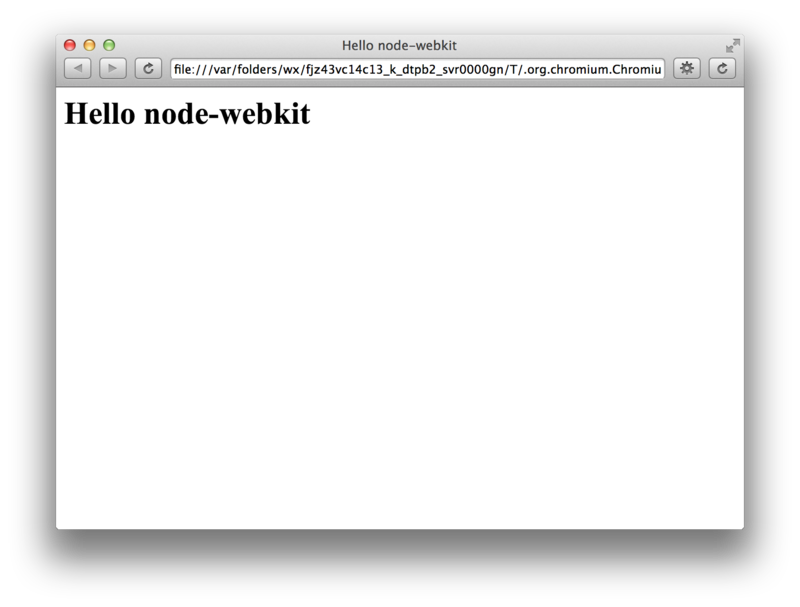
index.html文件的内容如下: [color=rgb(88, 110, 117) !important]1[color=rgb(88, 110, 117) !important]2[color=rgb(88, 110, 117) !important]3[color=rgb(88, 110, 117) !important]4[color=rgb(88, 110, 117) !important]5[color=rgb(88, 110, 117) !important]6[color=rgb(88, 110, 117) !important]7[color=rgb(88, 110, 117) !important]8[color=rgb(88, 110, 117) !important]9[color=rgb(88, 110, 117) !important]10 | <html><head> <title>Hello node-webkit</title></head><body> <div> <h1>Hello node-webkit</h1> </div></body></html> |
然后将这两个文件打在一个zip格式压缩包中: [color=rgb(88, 110, 117) !important]1 | $ zip -r hello-node-webkit.zip * |
然后将这个文件重命名为hello-node-webkit.nw,最后使用node-webkit来启动这个应用程序。 [color=rgb(88, 110, 117) !important]1 | $ ~/Tools/node-webkit.app/Contents/MacOS/node-webkit hello-node-webkit.nw |
添加外部JS/CSS接下来我们为这个页面添加一些外部的引用:CSS/JavaScript文件。首先创建两个目录style和script,然后分别创建文件如下: [color=rgb(88, 110, 117) !important]1[color=rgb(88, 110, 117) !important]2[color=rgb(88, 110, 117) !important]3[color=rgb(88, 110, 117) !important]4[color=rgb(88, 110, 117) !important]5[color=rgb(88, 110, 117) !important]6[color=rgb(88, 110, 117) !important]7 | ├── index.html├── package.json├── script│ ├── app.js│ └── jquery.min.js└── style └── style.css |
其中,style.css定义了h1的简单样式: [color=rgb(88, 110, 117) !important]1[color=rgb(88, 110, 117) !important]2[color=rgb(88, 110, 117) !important]3[color=rgb(88, 110, 117) !important]4 | h1 { font-size: 20px; color: #999999;} |
而app.js则注册了一个简单的事件处理器: [color=rgb(88, 110, 117) !important]1[color=rgb(88, 110, 117) !important]2[color=rgb(88, 110, 117) !important]3[color=rgb(88, 110, 117) !important]4[color=rgb(88, 110, 117) !important]5 | $(function() { $("h1").on("click", function() { alert("Heading 1 is clicked"); });}); |
此时的index.html修改如下: [color=rgb(88, 110, 117) !important]1[color=rgb(88, 110, 117) !important]2[color=rgb(88, 110, 117) !important]3[color=rgb(88, 110, 117) !important]4[color=rgb(88, 110, 117) !important]5[color=rgb(88, 110, 117) !important]6[color=rgb(88, 110, 117) !important]7[color=rgb(88, 110, 117) !important]8[color=rgb(88, 110, 117) !important]9[color=rgb(88, 110, 117) !important]10[color=rgb(88, 110, 117) !important]11[color=rgb(88, 110, 117) !important]12[color=rgb(88, 110, 117) !important]13 | <html><head> <title>Hello node-webkit</title> <link rel="stylesheet" type="text/css" href="style/style.css"></head><body> <div> <h1>Hello node-webkit</h1> </div> <script type="text/javascript" src="script/jquery.min.js"></script> <script type="text/javascript" src="script/app.js"></script></body></html> |
还是按照上一小节的命令完成打包,改名,启动之后。点击h1元素时,会弹出对话框如下: 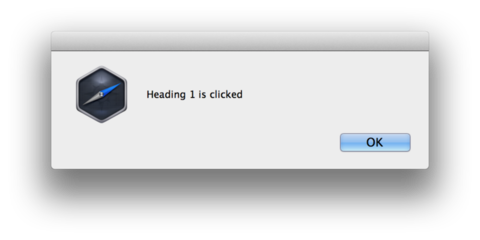
在这个例子中,我们使用了外部的css文件来添加样式,还引入了jQuery作为访问DOM元素的工具,最后还使用了一段调用jQuery的JavaScript代码。 构建脚本你可能已经注意到了,使用node-webkit开发非常方便。但是这一系列的动作(修改HTML+CSS,压缩打包,改名,启动)等有一部分重复工作,我们可以将其自动化。 好在已经有了一个很好用的grunt的插件:grunt-node-webkit-builder,这个插件可以帮助我们自动执行压缩打包这些动作。 [color=rgb(88, 110, 117) !important]1 | $ npm install grunt-node-webkit-builder |
然后定义一个Gruntfile.js,这个文件中指定源文件(所有的HTML,JavaScript代码,CSS文件)所在目录,目标文件所在目录,需要构建的应用程序指定的操作系统平台等: [color=rgb(88, 110, 117) !important]1[color=rgb(88, 110, 117) !important]2[color=rgb(88, 110, 117) !important]3[color=rgb(88, 110, 117) !important]4[color=rgb(88, 110, 117) !important]5[color=rgb(88, 110, 117) !important]6[color=rgb(88, 110, 117) !important]7[color=rgb(88, 110, 117) !important]8[color=rgb(88, 110, 117) !important]9[color=rgb(88, 110, 117) !important]10[color=rgb(88, 110, 117) !important]11[color=rgb(88, 110, 117) !important]12[color=rgb(88, 110, 117) !important]13[color=rgb(88, 110, 117) !important]14[color=rgb(88, 110, 117) !important]15[color=rgb(88, 110, 117) !important]16 | module.exports = function(grunt) { grunt.initConfig({ pkg: grunt.file.readJSON('package.json'), nodewebkit: { options: { platforms: ['osx'], buildDir: 'builds', }, src: ['app/**/*'] }, }); grunt.loadNpmTasks('grunt-node-webkit-builder'); grunt.registerTask('default', ['nodewebkit']);}; |
这样,我们修改之后,就可以很简单的执行: [color=rgb(88, 110, 117) !important]1 | $ grunt |
来进行打包了。比如在Mac下,构建出来的应用位于builds/<app-name>/osx目录下,要启动该应用只需要在命令行输入 [color=rgb(88, 110, 117) !important]1 | $ open builds/hello-node-webkit/osx/hello-node-webkit.app |
或者在Finder中双击打开即可。 可以看到上例中的应用程序还有浓重的浏览器痕迹,比如地址栏,刷新按钮,甚至还有一个DevTools的按钮。我们可以通过修改package.json来指定: [color=rgb(88, 110, 117) !important]1[color=rgb(88, 110, 117) !important]2[color=rgb(88, 110, 117) !important]3[color=rgb(88, 110, 117) !important]4[color=rgb(88, 110, 117) !important]5[color=rgb(88, 110, 117) !important]6[color=rgb(88, 110, 117) !important]7[color=rgb(88, 110, 117) !important]8[color=rgb(88, 110, 117) !important]9[color=rgb(88, 110, 117) !important]10 | { "name": "hello-node-webkit", "version": "0.1.0", "main": "index.html", "window": { "toolbar": false, "width": 800, "height": 600 }} |
这样的界面就更像是一个桌面应用了: 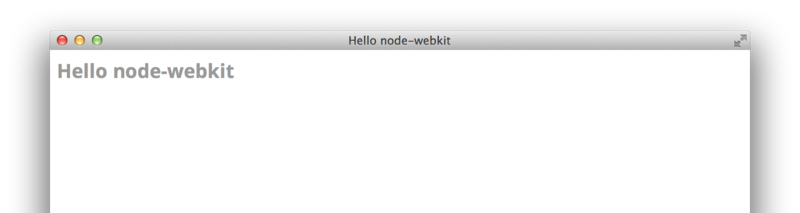
到目前为止,这个小的应用程序并没有什么有趣的特性,用户界面也毫无美感,但是有了这些基本知识和工具之后,我们就可以开始更进一步的开发。除了使用既有的CSS框架来完成用户界面的美化,我们还会使用node.js访问系统资源来构建真实的应用程序。
|


 |Archiver|手机版|小黑屋|firemail
( 粤ICP备15085507号-1 )
|Archiver|手机版|小黑屋|firemail
( 粤ICP备15085507号-1 )


 发表于 2016-3-12 11:20:58

 收藏
收藏